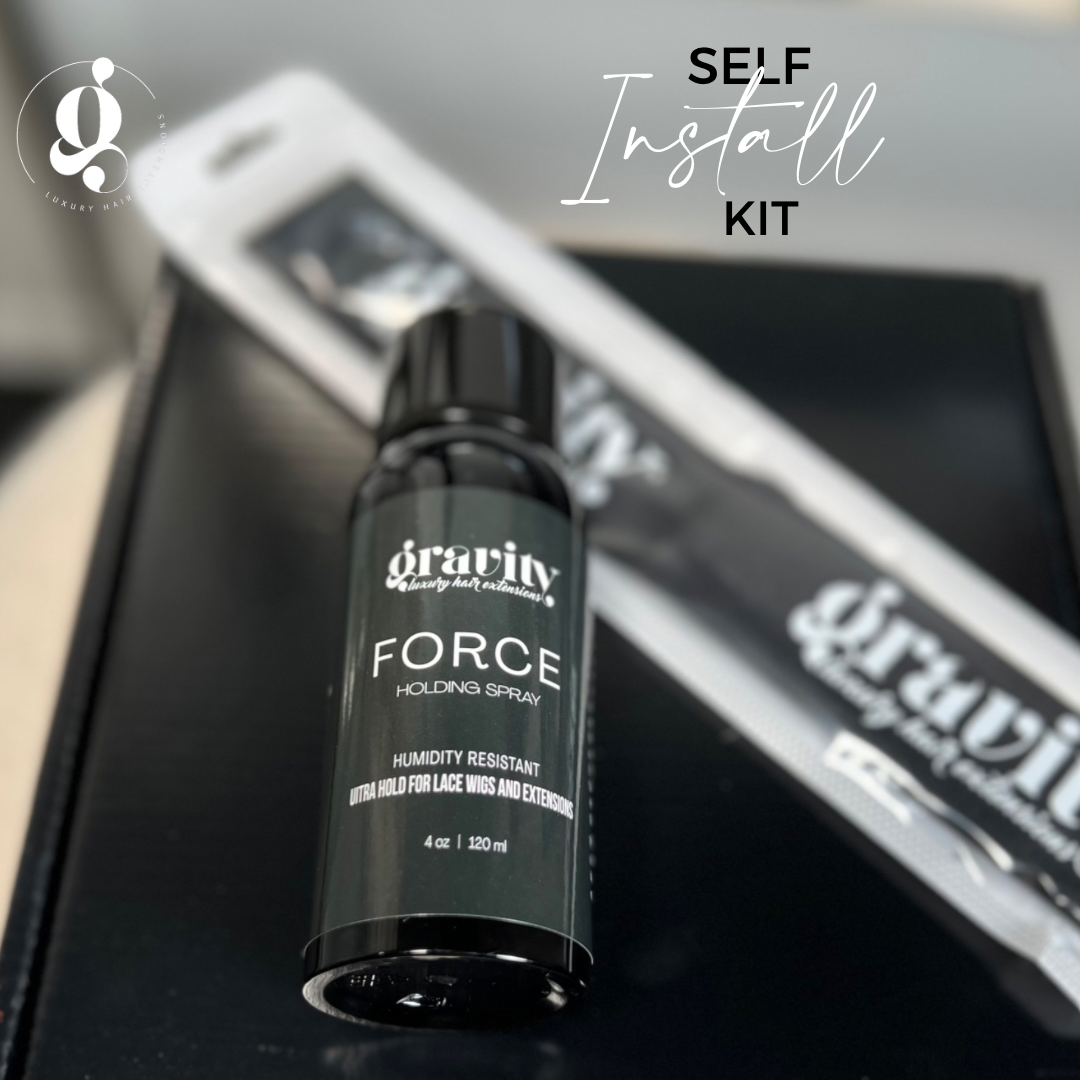
SELF•INSTALL KIT
Take control of your hairstyle with the S E L F - I N S T A L L kit.
Our easy-to-use kit allows you to install your wig at home, saving you time and money. No more expensive salon visits or struggling with complicated instructions.
Achieve a flawless look in the comfort of your own home with just two simple products- our melt band + holding spray.
GLUELESS WIG APPLICATION INSTRUCTIONS:
Step 1: Prepare Your Natural Hair Start by ensuring your natural hair is clean, dry, and neatly braided or slicked back. For optimal results, use a wig cap that closely matches your skin tone to create a smooth base.
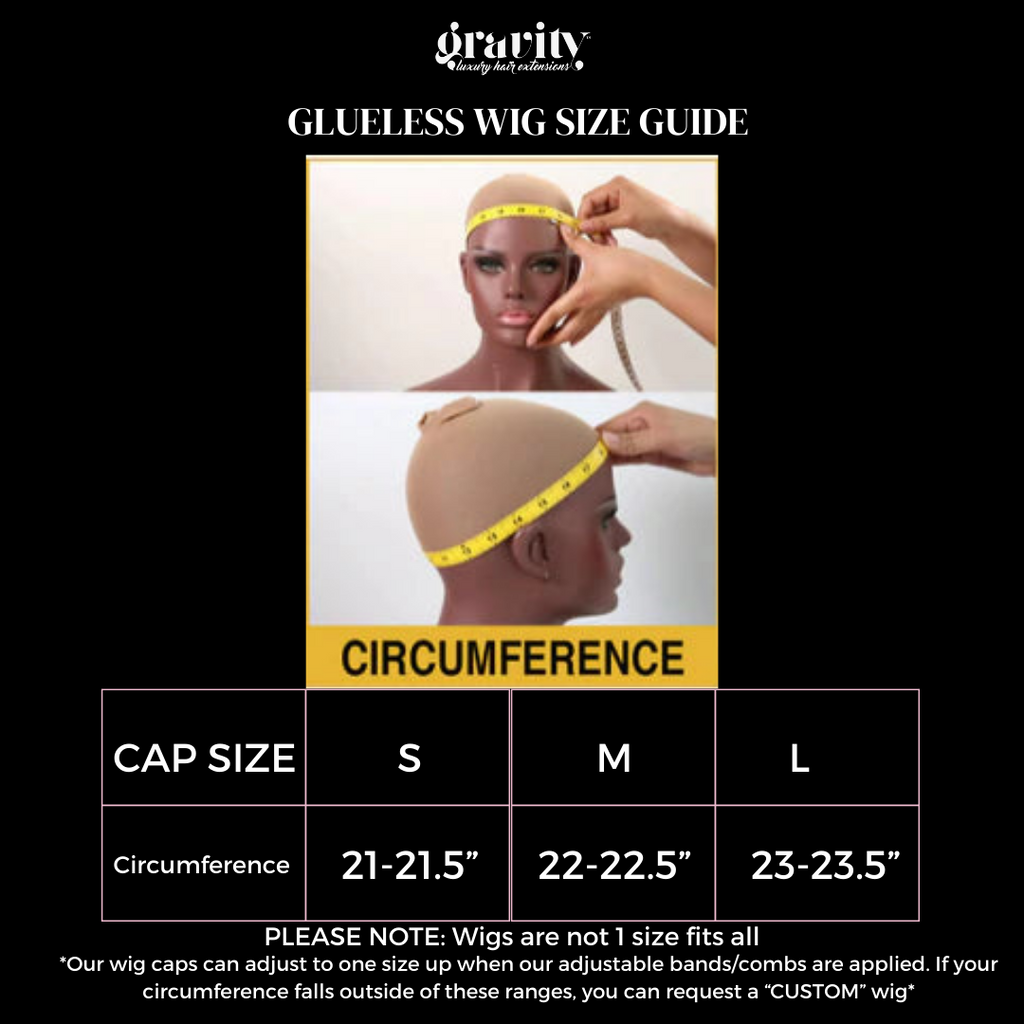
Step 2: Adjust the Wig Cap Our wigs include an adjustable strap and combs for a secure fit. Place the wig on your head, aligning it with your natural hairline. Adjust the strap to achieve a snug fit, and secure the combs into the braided or slicked-back sections of your hair for added stability.
Step 3: Cut Lace After the wig is in a comfortable position, cut the lace beyond your hairline with an eyebrow razor. Be sure to cut the lace in a jagged motion.
Step 4: Apply Force Spray the product onto your forefinger. Lightly dab it onto the lace.
Step 5: Apply Melt Band Place the melt band along your hairline for 15-20 minuets. Remove once the product is completely dry.
Step 6: Retouch Style Touch up the style using hot tools with a safe level of heat. We recommend using a straightening comb to mold the wig to the shape of your head. Use FORCE to tame flyaways and enhance the final look


